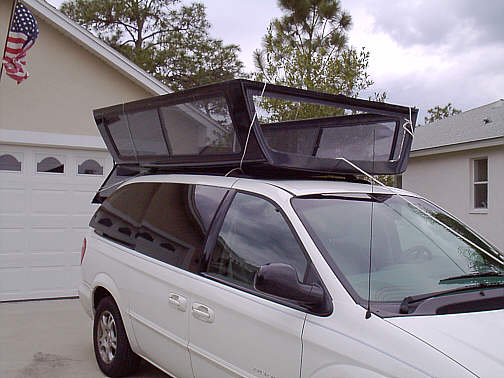
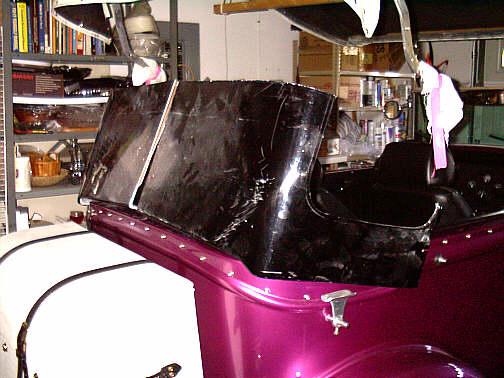
I picked up this topper from a junk yard ($20) - I don't
know what it came from, and it was cheap because it was
dented in on top. I had hoped that it would pop back up.
It did not and will have to have bracing inside. The glass, although darker than I would
like, looks useful, (see obstacles below) and I am hoping that cutting it will not
cost too much.
|
I decided to put the back of the cap as the front and cut
the length after careful measurement. The plan is to use
the back of the top (left front corner of the picture) as
the main back piece of the back of the new top. In other
words, tip the piece on the left toward you, and then I
can cut a window hole later. The piece is wider than the
car, so a lot of cut and splice will be needed.
|
The back of this new top is too wide, so I plan to cut a
vee on each side of the top and bring it narrower. That
Vee would likely reach forward to the back of the front
door. It looks like the 90 inch length of that topper
will barely make enough for the top, front to back AND
the upright back piece. In this pic, there is a 2x4
resting on the windshield frame to hold the front up (I
will build a filler strip later) and the back is propped
up with a stack of wood pieces to check for height.
|
| Observations at this early stage: This
top is going to be heavier than I thought. That means
problems moving it about while building it, and problems
pulling it off for open driving.
The topper has an inner liner of fabric glued on --
this will be a problem when splicing. The top also
consists of two layers with loose pieces of corrugated
cardboard in between. That carboard is moving around, and
the two layers will also make problems with splicing.
The back curves both around the back seat, as well as
up and down (the back is highest in the center and goes
downhill as you go left or right-- getting the rear
section to rest evenly on the car will not be simple.
|
| Obstacles -- Well, lesson one. One
does NOT cut tempered glass. All of that beautiful tinted
glass - to the trash bin. I will have to have flat side
glass made and tempered. $6 per square foot is my first
estimate, with extra charges for rounded corners, holes
etc. The hunk of aluminum used in each corner to make
the receiver for the windshield stanchion pokey things (my
technical term) -- that size aluminum stock (1" x
2" x 2") is NOT available at our huge aluminum
store. The only thing I saw in my first visit there was a
hunk 4 x 4 x 8. I did not price it, nor do I relish
cutting it down. Perhaps steel, although tapping and
drilling steel is a bit less fun.
|

Here is a cardboard cutout of the rear ledge of the car,
with a hole cut out for the seat back to pop through. The
topper is laying face up on the ground with the part that
fits against the back window of the truck facing up.
After this, I cut the top in half, to start to make it
narrower, then cut notches in the curved part on top to
start to bend it narrower.
|
These are the piece cut for the back. As of 4/9/02 the
project is on hold while I get a new rebuilt engine for
my car. It blew up its last "rebuild engine".
The wire is to bend the pieces at more of a 90 degree
angle. I have a frame that will rest all around the back
half, and the fiberglass will be bolted to it. The frame
needs some adjusting for fit, and that is when the engine
blew, so I can't get back for that part.
|
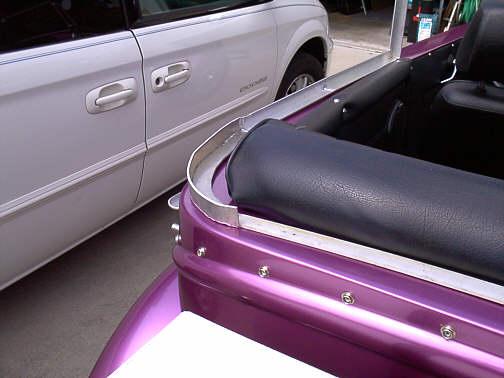
Here are the pieces from the outside. They are hanging
over on the side, but will be bolted to the frame and the
whole thing will sit upright. I am thinking of an oval
window, since, by the time I add a brace top and bottom
to hold the two halves together, there wont be room for
an original size window. Too bad, because we need all the
rear view we can spare. Obviously, the trick would be to
get a top of about the right width in the first place so
the splicing would not be necessary. Stay tuned.
With all of the scratching and
splicing, I am now considering having the whole thing
vinyl covered when (or IF I get it done.)
|
here is the "frame" on which to mount the back
fiberglass. This frame will bolt to the car body. This is
made out of 1 inch wide aluminum and cost about $110 from
the welder.
|
another view of the contraption. The angled material at
the side, and the upright will form the frame for the
rear windows, which, I guess will be plastic, and
non-removable. I am hoping that the rear window will flip
up so that air can pass through when the front windows
are removed.
|
Here is a trial fit to see if it all reaches. The two
halves of the rear have been spliced and hooked on to the
frame, and the top laid on top to be sure it is long
enough.
|

Obviously a big issue is how to narrow the top in the
rear so that it lines up with the rear panel. Note the
corrugated carboard sandwiched between the two layers on
the top part.
|

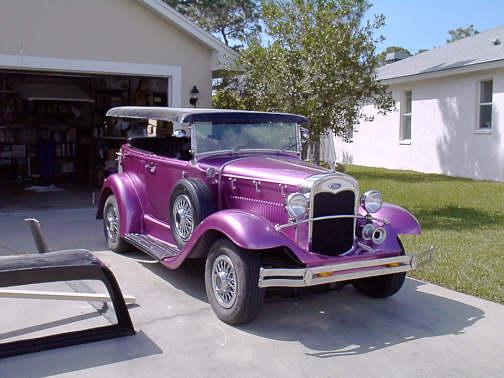
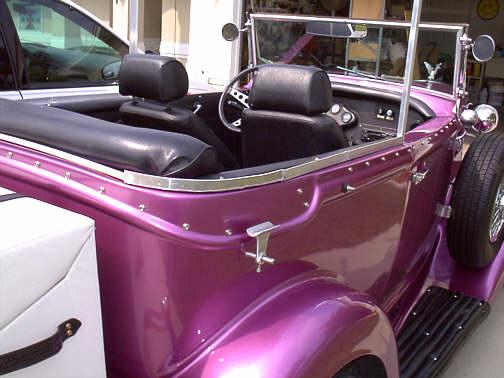
The visor is sitting up high rather than covering over
the windshield. I left it high to provide as much
headroom as possible. As it is, at 5' 10" and the
seat leaning back a bit (to provide room for my gut) I
end up with about two inches of headroom. A planned
sunroof may steal a little of THAT space.
|
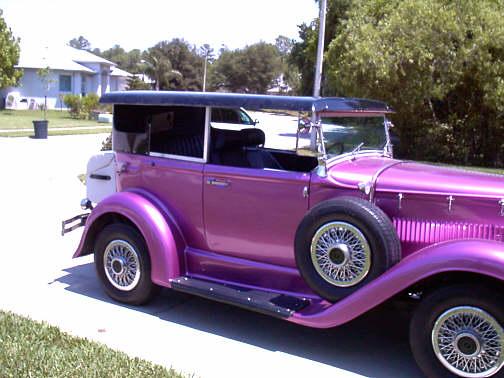
Side view. Imagine it in white Vinyl. I am leaning more
and more to the vinyl to cover up all of the screws that
are holding this together. Filling nicely for paint
sounds like a bit too much work. Also, vinyl will
simulate a soft top, excusing any little ripples and
bumps etc.
|
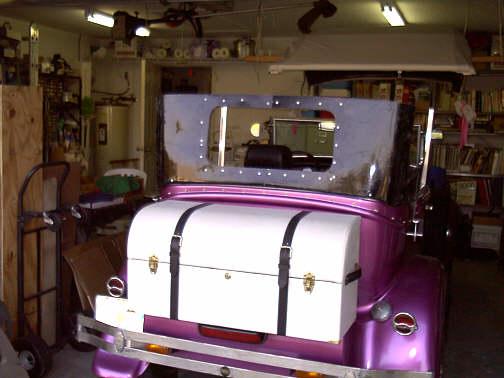
Here is where I popped the hole in the back for the
window. The shiny dots are countersunk screws going
through the fiberglass and into a 3/4 inch plywood frame
on the inside.
|
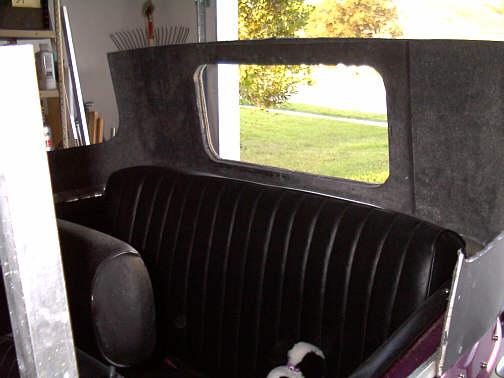
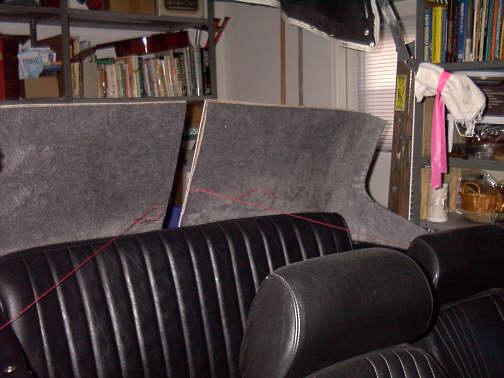
Here is the interior view The plywood looks like a
perfect match with the fuzzy interior, but it is just
flat black paint. I have a piece of plastic (thick) that
I got at a yard sale. I will screw that on with 4 or 6
screws that can be removed for fresh air exit out the
back. I really want to hinge the window at the top so it
will self-store when open.
More to come!
|
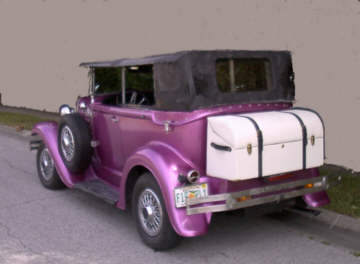
Well, I have gone and done it. I got so wound up that I
didn't take as manyh pictures as I should have. This
picture has that gray background because it was in front
of the woods and you could not see the top at all, so I
touched it up.
|
| Attaching the back part to the car:
I drilled a couple of holes in ledge around the back of
the car. The fiberglass was VERY thick there. I wanted
the finish to be holes in the car rather than bolts
popping up, so that when the top was set down on the car,
it would not have to come straight down onto the car.
What I did, which seems to work was: I got a threaded
receptical at Home Depot (it has a lip and you are
supposed to hammer it into a wood surface so you can
attach a bolt) -- I hammered it into a scrap of wood
(like a 1x2x3") and then I glued on a scrap of
aluminum with a hole in it to the TOP. You see, the
pressure would be for the top to lift UP, so it would
TEND to want to pull the threads back up out of the scrap
of wood. Then, I took a long, threaded rod (3'),
lowered it though the hole on the deck, attached my
sandwich of aluminum, and wood and threaded receiver to
the bottom -- I gobbed on some fiberglass bondo, and
lifted up on the rod to bring it up on the underside of
the lip. I held it in place and Ta da! I unthreaded the
long rod and there, down in the hole were the threads. I
believe I used 5/16 bolts then to hold the top on. It
seems to work great at highway speeds.
|
| Right now, there is a LOT of finishing work to do. I
received two different estimates of $500 to vinyl cover
the whole thing. I am considering other options! More
to follow.
|
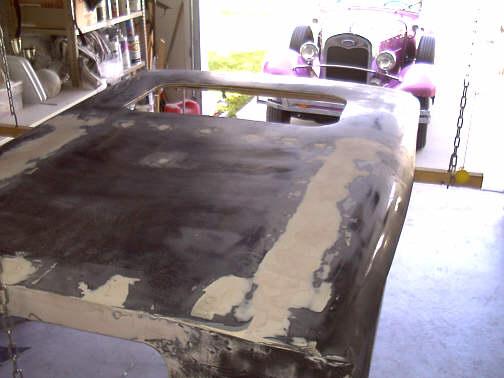
Here is the top showing splices and bondo. It is hanging
on the chains with a 2 x 2 cross brace. Angelique is
watching from a safe distance.
|
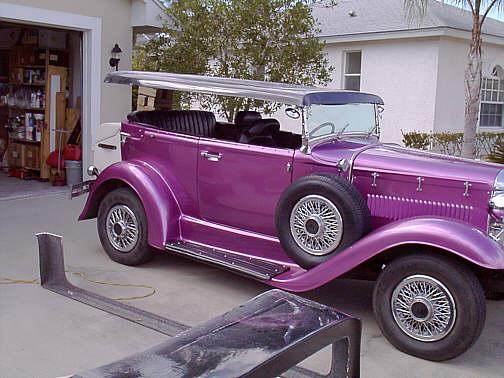
Here is the look in white. I used white
primer to hold me until I have money for vinyl. I still
have not done anything about windows, which is what
started all of this. The rear will be easy, just plop in
some plastic. As for the front, I am still figuring what
will work best.
|
another view of the top.
|
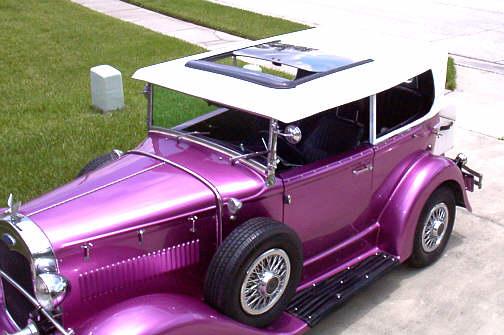
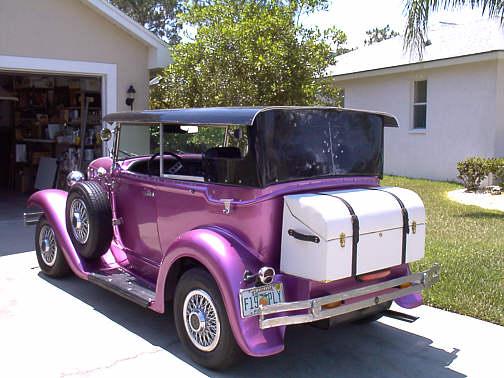
Looking down on the sunroof. This came
from a pull-your-own junkyard $25.00.
It came from a 1986 Dodge Aries K.
This very neat addition is the highlight of the project..
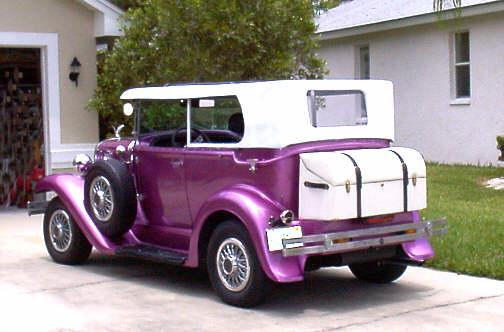
The last step was to get the project
covered in vinyl. I had gotten THREE estimates of exactly
$500 for the project. By the time I had saved up the
money, the cheapest estimate turned out to be $650.
(which included padding the top) With that estimate, I
had to buy the edging to go around the window areas. That
was found in a BOAT SUPPLY STORE - They had white or
black in various widths to handle different thicknesses
of material that was being edged. The roll of edging cost
about $25.
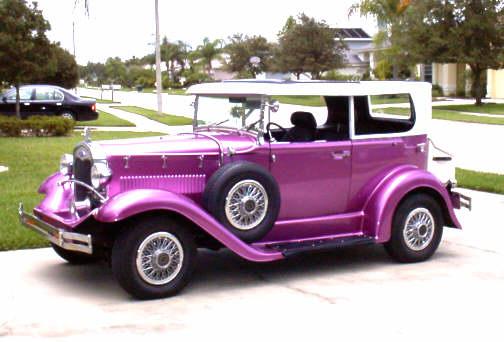
For pictures of the car with the
project finished see Car
1254.
If you are still reading here, try
looking at the WINDOWS
that I built to go with this.
They could even work with a convertible top.
|