|
Hats
are no longer available.
They sold out in 2013. The first batch of hats, years ago, were
embroidered right on the hats, but they were not cheap and sold quickly.
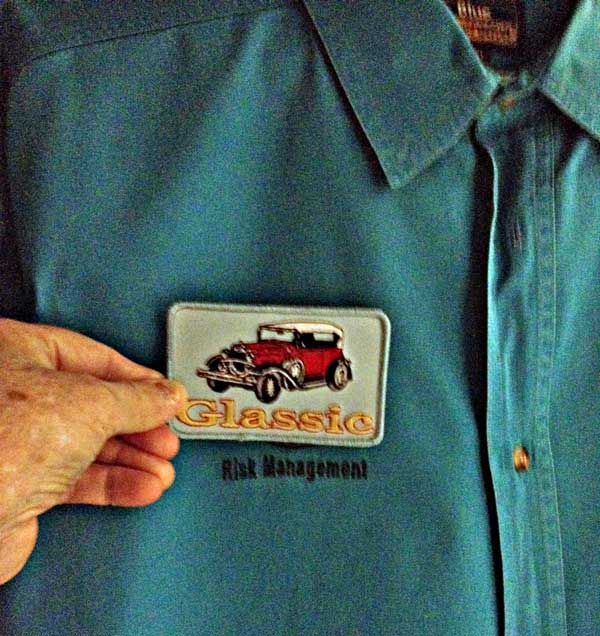
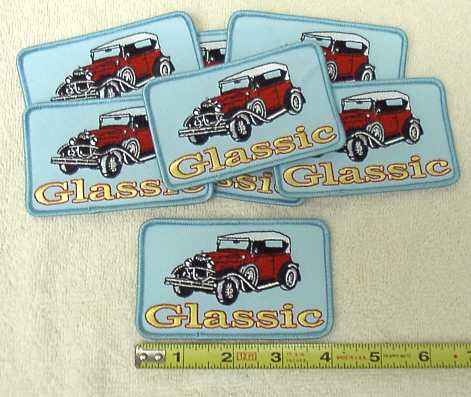
The second batch were the embroidered patches below professionally heat
glued onto hats. The patches are still available separately,
but the integrity of the glue may not be great due to the passage of
time. It is not easy, but they can be sewn onto hats or shirts or
jackets.
Patches as low as $2.00 ea. if 3
ordered.
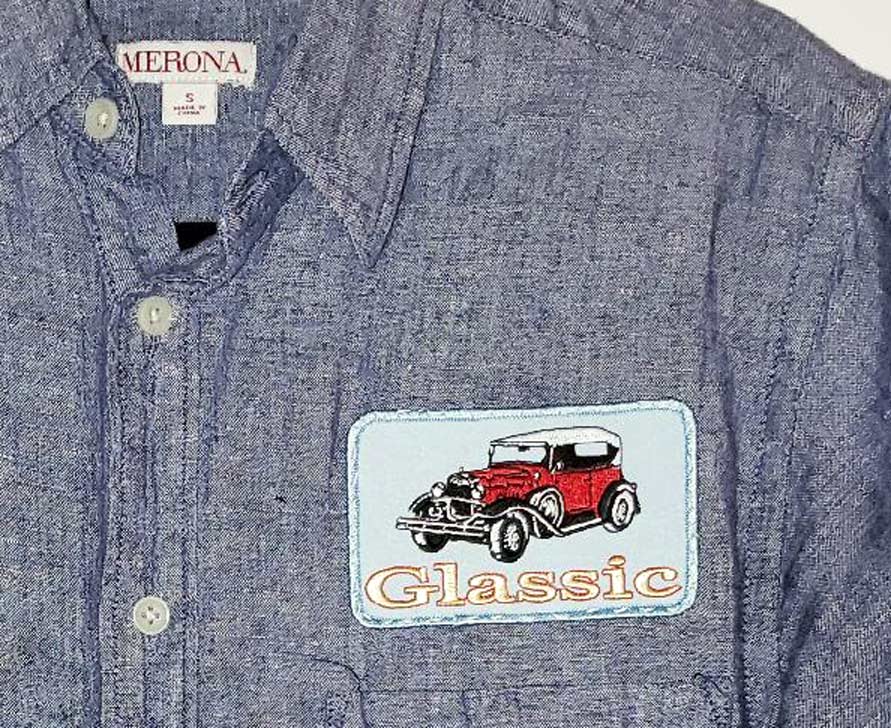
Patches are only available with a red
Phaeton, the most popular
body style and color of car manufactured.
Ordering info by credit card:
(click here for info
on ordering by check and US mail.)
Order with a credit card using PayPal and the shopping cart.
PayPal, for those who don't know it, is a go-between for small merchants
like myself and eBay, so you don't have to give a bunch of STRANGERS
your credit card info. You sign up with them and they send money on to
me without divulging your credit card number.
The WORST thing about it, even though it is free for the buyer, is that
you have to sign up for an account the first time you use it --
means another password and user name to remember. You MUST keep that
info secure so others can't use your account.
It is safe and secure, and I have had an account for years that I use
for eBay purchases and sales.
I never had a problem with it.
|
Postage is included for United
States addresses only.
For purchases outside of the US, add
$3.00 for a patch order. |
Order ONE patch
$ 3.50 includes free USA shipping |
Order TWO patches
$5.50 includes free USA shipping
|
Order THREE patches
$ 6.00 includes free USA shipping |
NOTE: a
Quantity of 1 means one order
for that many patches. |
I already paid the taxes on these and postage to USA addresses is included in the
prices!
For non-USA orders, you need to add $3. for any patch. order to cover added postage.
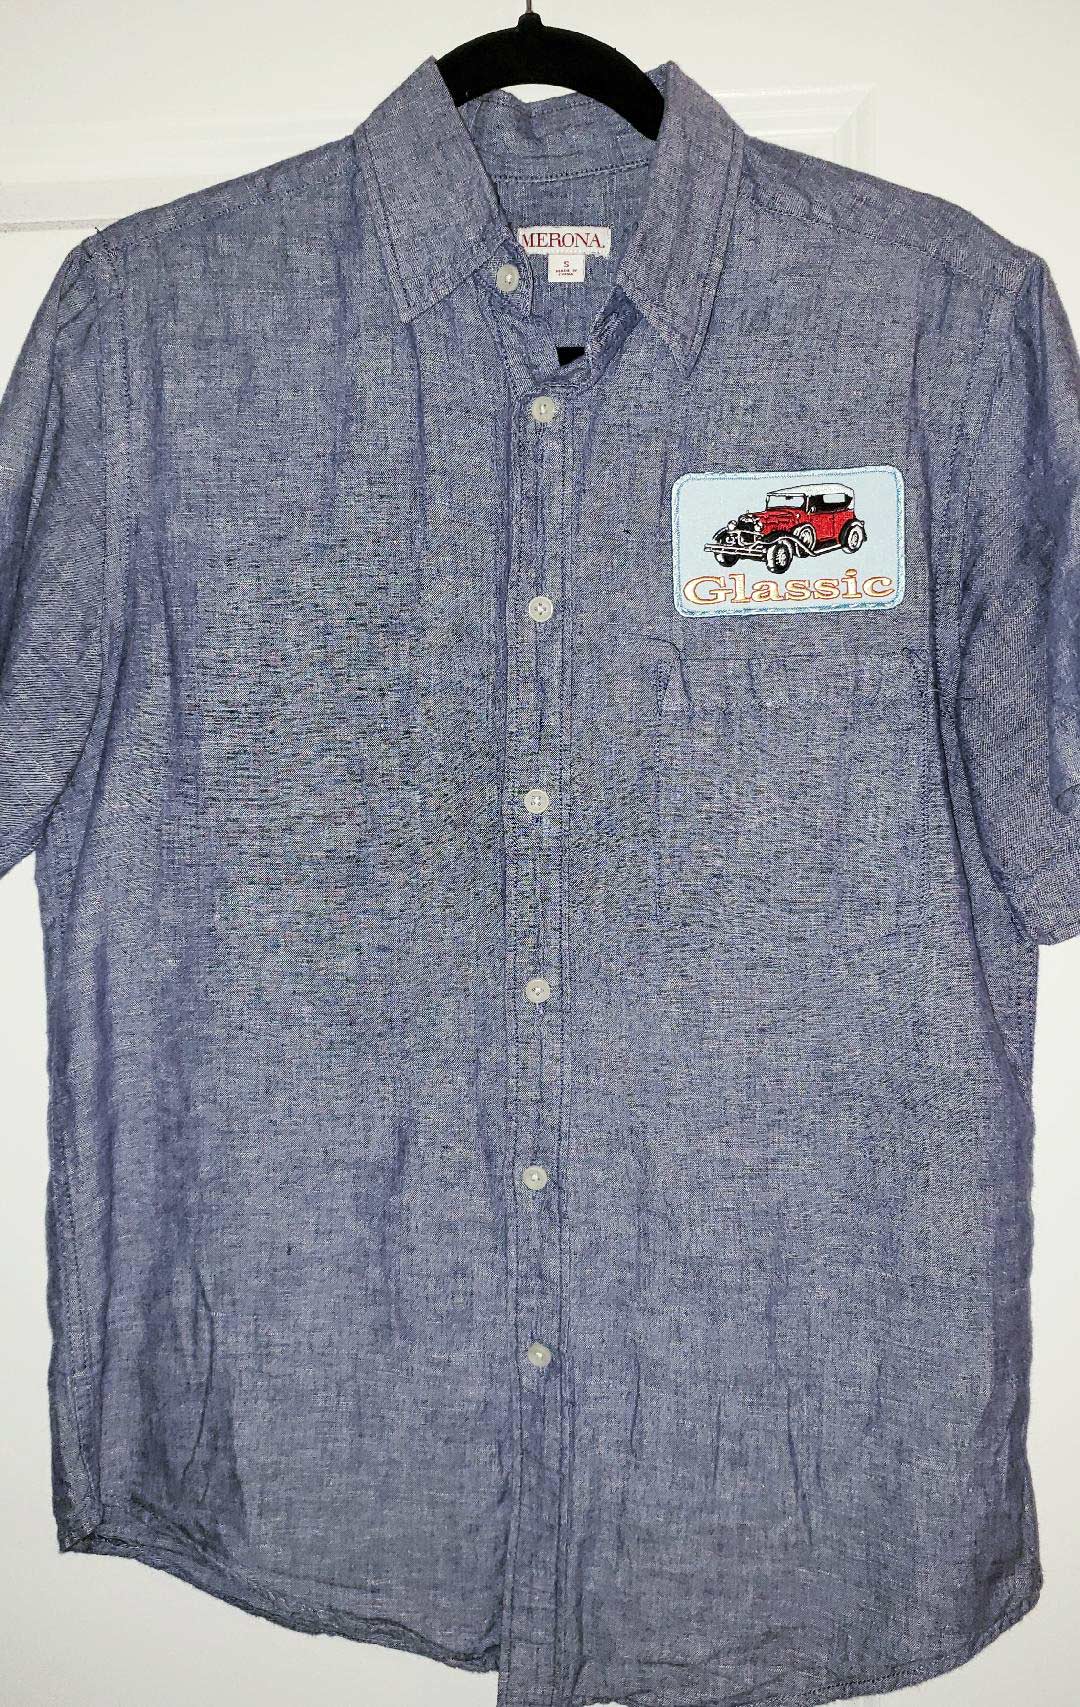
The patches have a heat backing, but the vendor suggests sewing
them on if not being professionally heat pressed on. Below is my
experience with home heat sealing a patch.
|
Attaching your
patch to a hat
In order to provide patch buyers with a head-start
at attaching a patch to their own hat, I tried the process with
mixed results. The hat I used was a cotton-like fabric hat. Nylon
ones may be a bit different.
My mistake
Most important, I learned that the professional
heat attaching must have taken place on a table (and iron) that
has a rounded surface to match the hat. My first try on the
flat home ironing board was not successful, since I was
putting a strait line patch on a curved hat that I had smashed
flat on the ironing board , so it came out with the center of the
patch up from the edge compared to the corners.
Much better
My second attempt worked fine. I set the iron
for Cotton (just a guess) which was the second hottest setting
- # 2 out of 3. I used a damp, wrung out handkerchief
between the patch and the iron - to keep the patch threads from
browning.
Then, I put the hat at the tip of the small end of
the ironing board and put only half of the hat front on the
board. I let the left half, for example, hang (curve) over the
side of the board. I warmed up the hat surface for a couple of
seconds with the iron and placed the patch so that the right half
of the patch bottom followed the line where the bottom of the hat
matched the bill. In this position, the other half of the
patch would have gone straight and actually overlapped the bill of
the hat.
I then covered the first half with the damp hankie
and pressed fairly hard for 15 seconds. Then I bent
the patch in the middle and forced the second half to follow along
the line of the bill. I moved the hat so the finished half was
hanging (and curving) over the edge of the ironing board and
placed the handkerchief over the second half and pressed the iron
for 15 more seconds. Make sure that you have forced the second
half of the patch to stay above the line of the bill of the hat.
( This curving maneuver sort of makes you feel that the top of the
patch will bulge out, which is right since it is ending up in a
curve). I then touched up the center of the patch at the top with
a little more heat.
It would be best to bend the patch before you
start, to curve it to the general shape it will have when on the
hat. Then iron it on one half at a time.
I noticed that the threaded border did not seem to
glue on like the factory done hats, so, with the patch glued in
place, I will sew the border edge by hand, starting with
the corners, in case I get bored before I make it all the way
around the patch with stitching.
Hot, or Cotton iron setting
Damp cloth
do half of the patch at a time
press hard 15 seconds
General patch attaching
tips
I have found that sewing on any patch without
the glue is hard since at the start the stitching wants to come
loose and the patch flops around on the hat. I also now
know why I had so much trouble sewing patches on straight (I
have put Ford Oval patches on some hats). The trick is
that you have to curve the patch to match the curved contour of
the hat. If you are sewing on patches that don't have glue
backs, you could try "stitch witchery" or a similar product to
hold the patch in place while you sew it. That is an
iron-on hem tape that has glue in it and is available at
sewing or fabric stores.
|
|