|
|
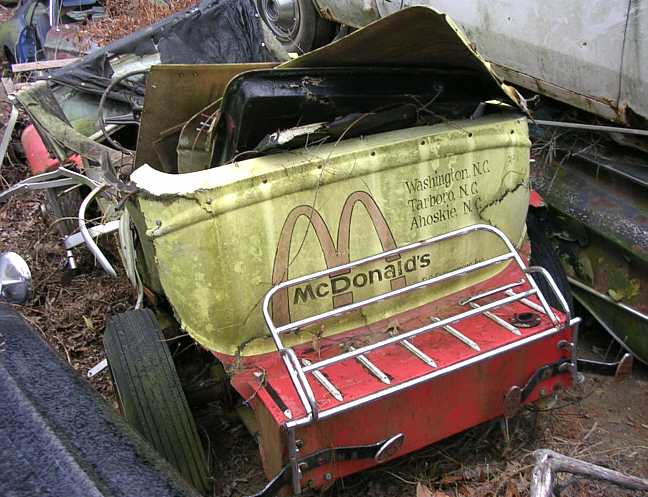
| Received: 2/2/07 On that date, the new owner, Robert, wrote: About three weeks ago I was talking to a junkyard owner about a frame for a hot rod. He told me that he had this old fiberglass car that had been rolled about twenty years ago and he bought it from the insurance co. and later sold the motor and transmission. When he told me it looked like a model A Phaeton I got real interested. The car was owned at the time by McDonalds Corp. and was used for publicity. The car was in very bad shape with three fenders torn off and missing, as well as large portions of fiberglass ripped off of the body, and missing the right door. I am at present glassing it back together enough so that I can take the body off of the frame. I have purchased a 289 and a c4 to put in the car but it will be a while because EVERYTHING needs repair after sitting uncovered for 20 years. I found your web site on the net and am very impressed with the amount of info that you have amassed and really enjoy reading all of it. I guess that's enough for now I just wanted you to know that there is one more Glassic coming back from the grave. |
|
|
|
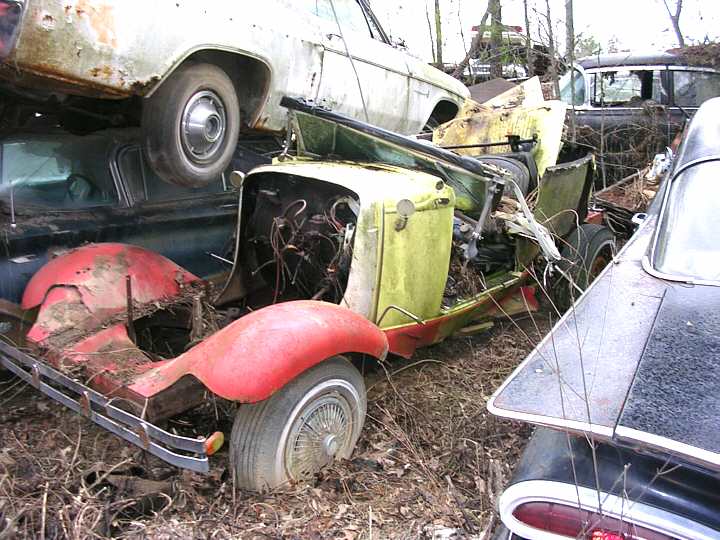
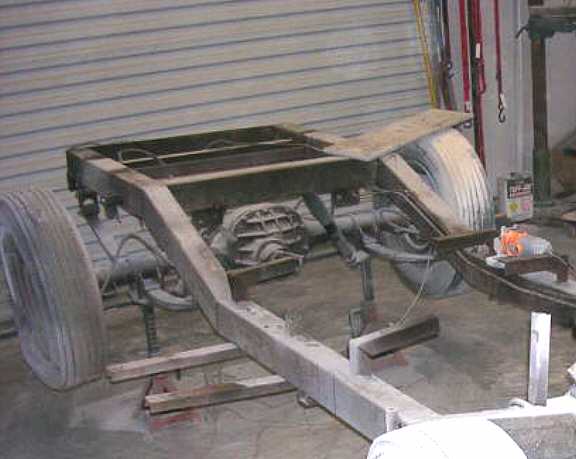
FROM THE OWNER: Here
(below) is the car coming out
of the junk yard. Pitiful sight, it looks better now. I did not get a
title but I got a form from DOT that will enable me to get a title
once the car is operable. DOT sends a man out to inspect it and then
they issue a title. In NC when a vehicle is totaled the title must be
turned in to DOT and they issue a Notice Of Receipt Of Title To A
Salvage Vehicle form to whoever buys the salvage. That is the form I
have.
Also to answer your
question about what I paid, I paid $500.00 and my wife thinks I am
nuts. 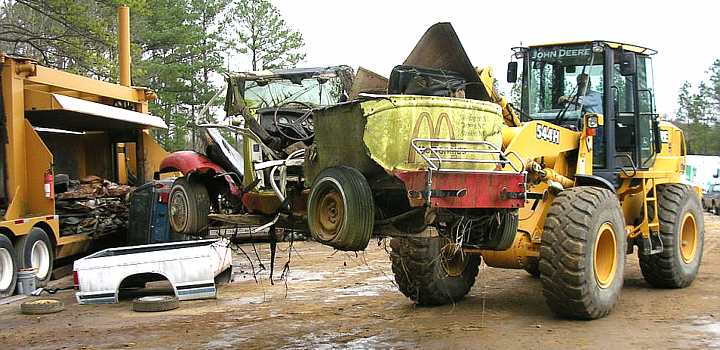 Do you know what that orange thing is on left side of the picture? This car was literally within INCHES of the crusher! |
|
Restoration begins:
|
|
|
|
|
|
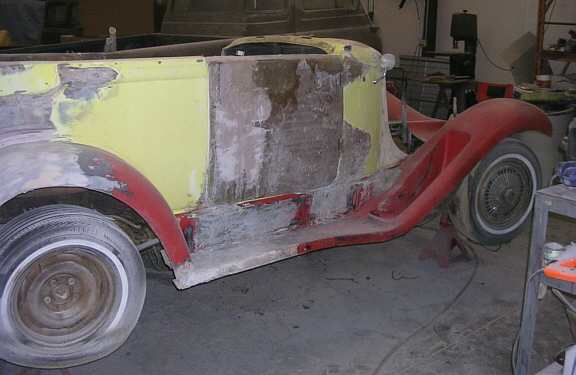
The top on the car was bent over sideways and all of the side links are bent up, the bows on the other hand look to be in fair shape although I have not looked at any of the top very closely. I had read that you have to remove the cloth to put the top down and I don't like that at all . Also I saw a picture that said the back seat is covered with the top down and I don't like that either. At this point I am not addressing the top at all but I am thinking about all options. I have a friend who has a 29 Phaeton and I will look at his top to see if it could be made to fit. I asked Robert WHEN the car might have been wrecked and how he formed up a replacement door for the missing one The paper I have to get a title says that the DOT received the title on 8-2-77 so I guess the car was rolled shortly prior. That makes it almost 30 years in the junkyard. The door: Inside the car I found the front edge [the part the hinges go through] of the door and a little bit of the inside skin. I cut a piece of wood to match the front edge and used it for the back edge then I used the other door as a template to cut an inside and an outside skin out of some very thin masonite I found at Lowes Then using blocks of wood and sheet rock screws I assembled a rough door and then cut a top and bottom out of the same stuff and put it on . I covered the whole thing with 3 layers of fiberglass, Now since doing all that I have cut it apart 3 times to get the contour to work out a little better, at this point it will open and shut on the hinges and the outside shape is fair ,I know that it will never be perfect but I think I can get it to be presentable. I am going to try to adapt a model A coupe door latch to it as I have no latch for it and the one on the other side is no good either. |
|
|
|
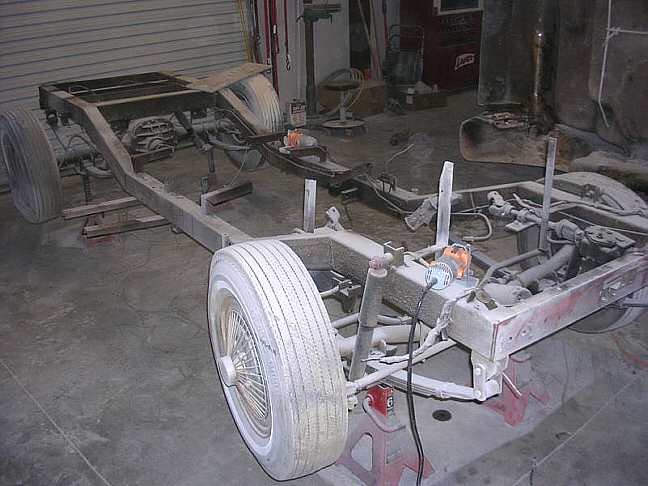
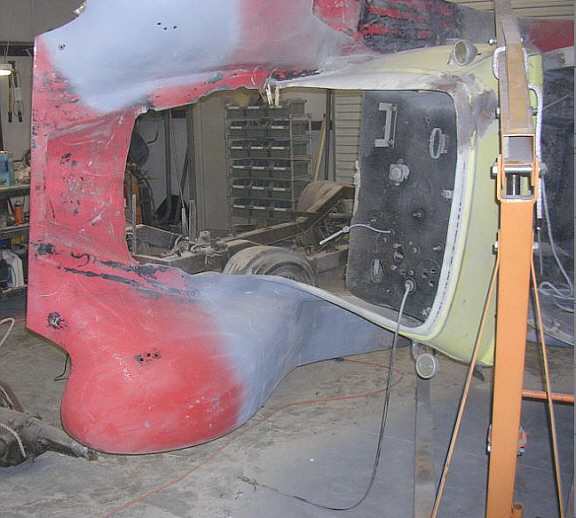
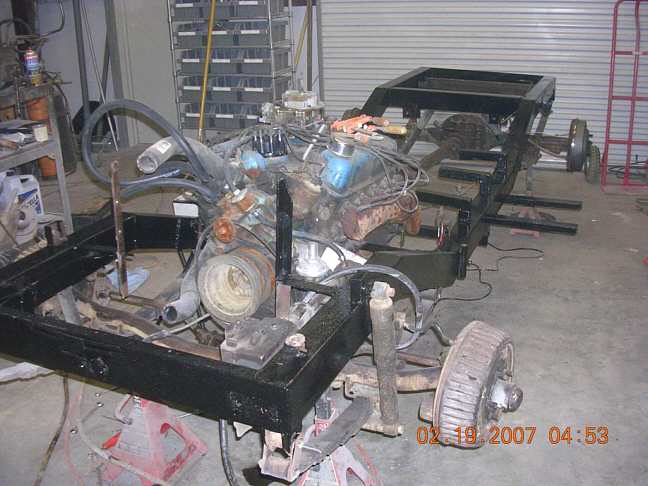
Feb. 10th, 2007 Robert says: Well the lid is off. I have it hanging sideways so I can glass the bottom. I got my first good look at the running gear, the frame is in good shape, the rear wheels are hard to turn, and a couple of the body mounts are damaged and will have to be remade. My first assesment= a lot of work ahead.
|
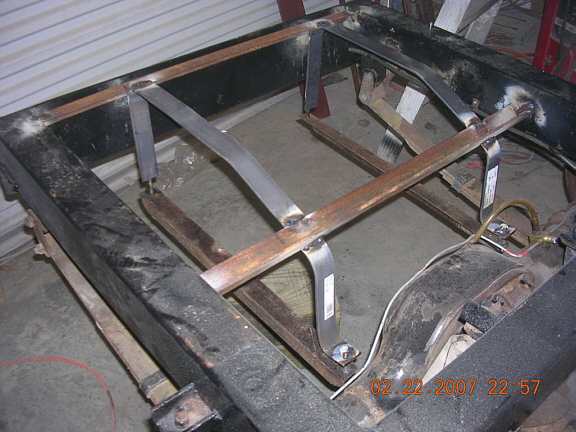
 A blown-up version of the rear half of the frame from the above picture. |
 |
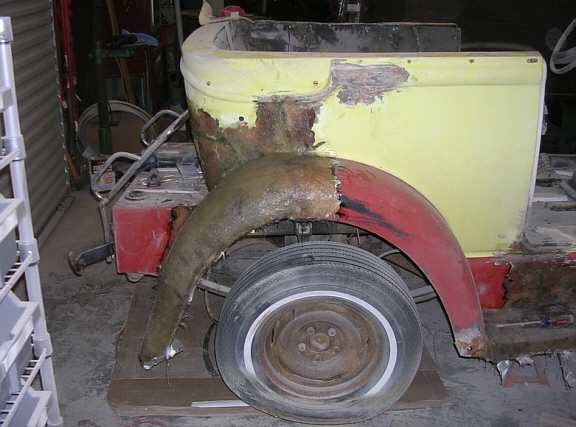
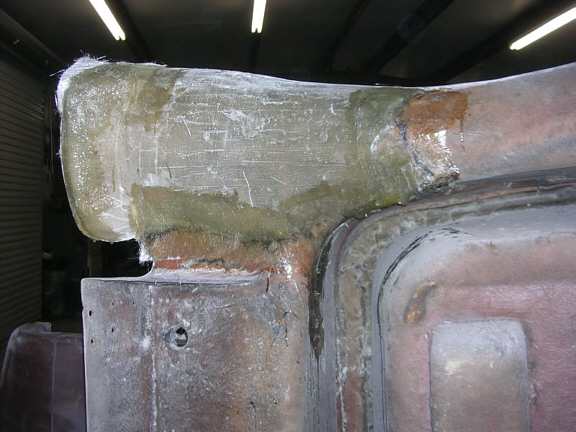 Under view of rear fender where huge piece was built since original was gone. |
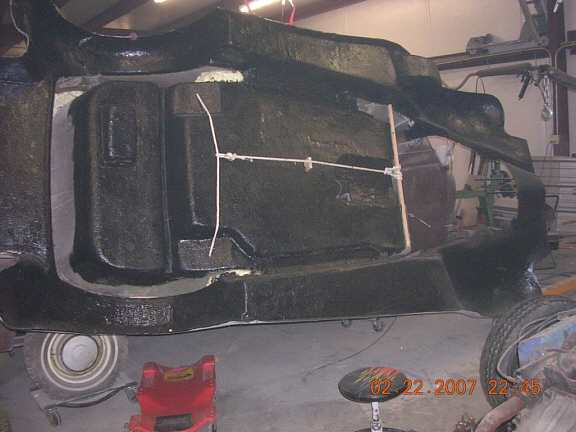
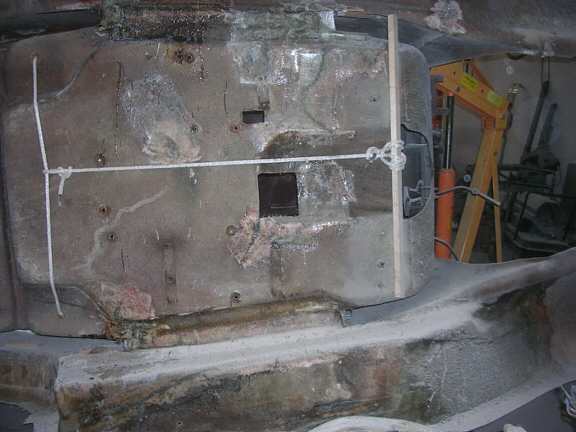 Underneath of the body. The front of the car is to the right. |
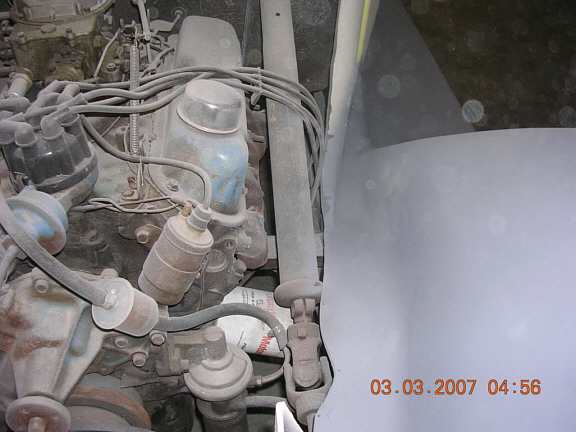
On Feb. 24, 2007 Robert reported:
|
 |
 |
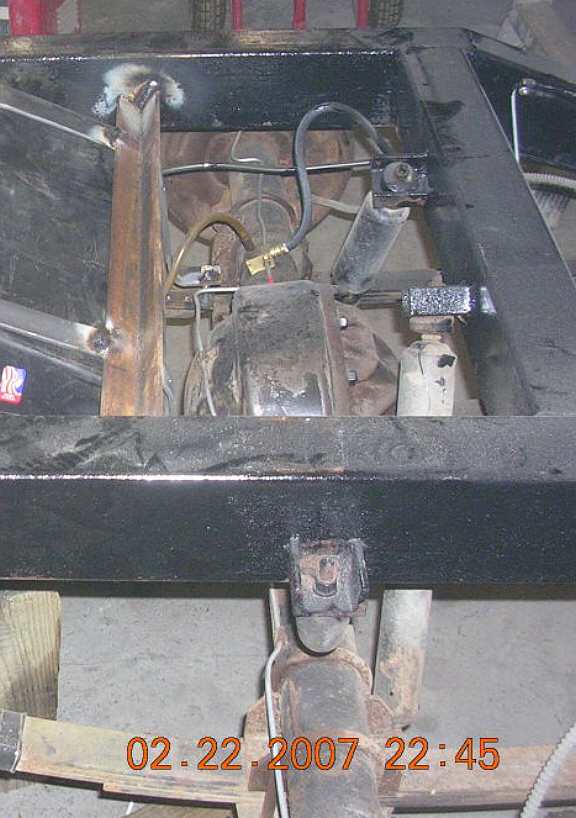 The picture above shows the gas tank and special mounts to the left. |
|
|
|
 |
 |
|
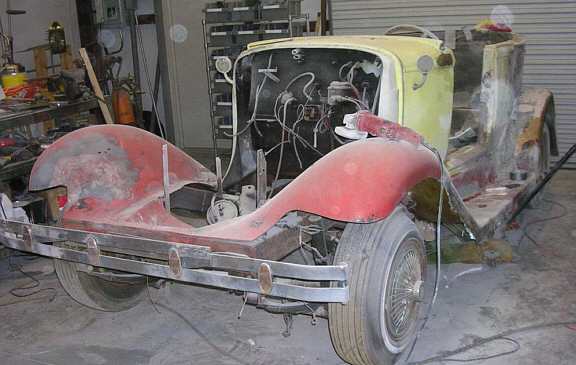
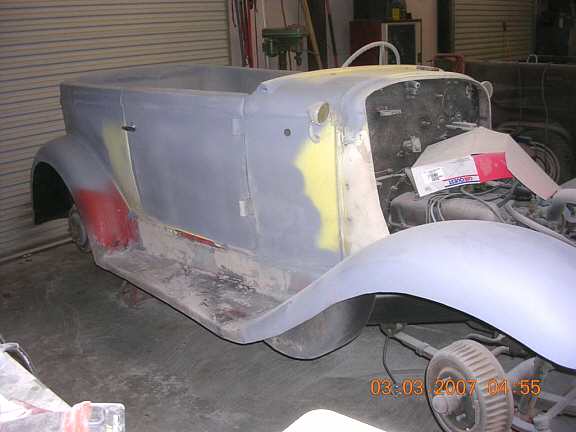
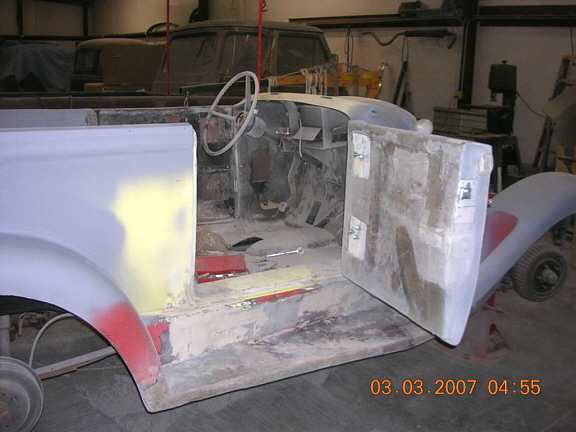
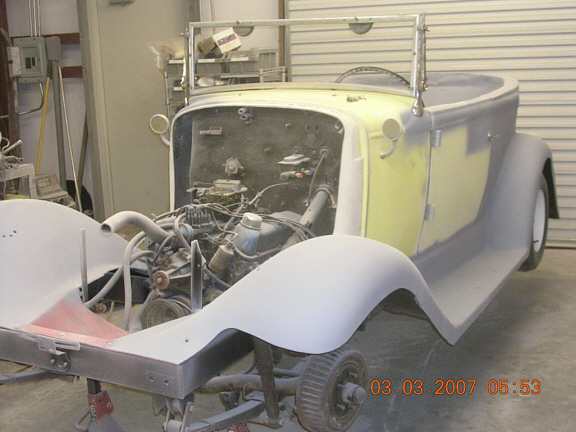
March 1st, 2007 - received the comments and pictures below.
Here's a few pictures of the progress on the car. Have installed a steering wheel out of a c60 Chevy truck, was an easy install and was cheap because it is not a high seller at the junk yard. I have fitted both doors and installed Model A handles and latches on the outside. (There probably will not be any inside) Have done a lot of sanding and put a coat of primer on a lot of car. Even stuck the windshield frame on just to see how it fits. It is beginning to look like a car again. Next week I will be getting on the mechanical stuff so I can hopefully get it to move under power.
One thing that has surprised me is how
hard finding some vinyl seats at the junk yard has turned into.
I can find all the cloth seats I want but am trying to go with vinyl
for help with weather protection and very few newer cars have them
|
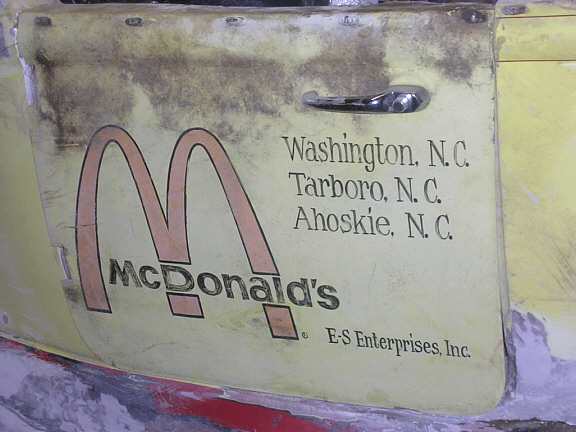
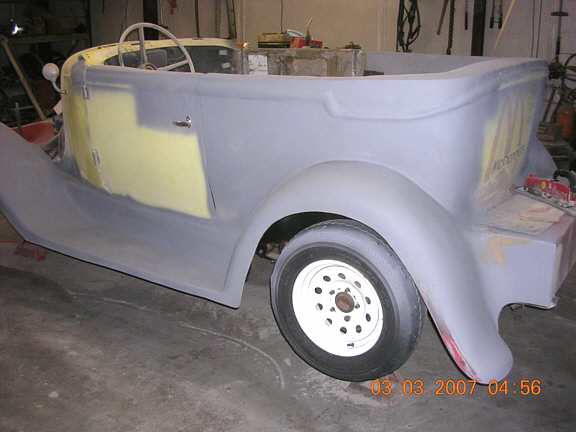 Last remnants of the McDonald's logo on the back! |
 |
 |
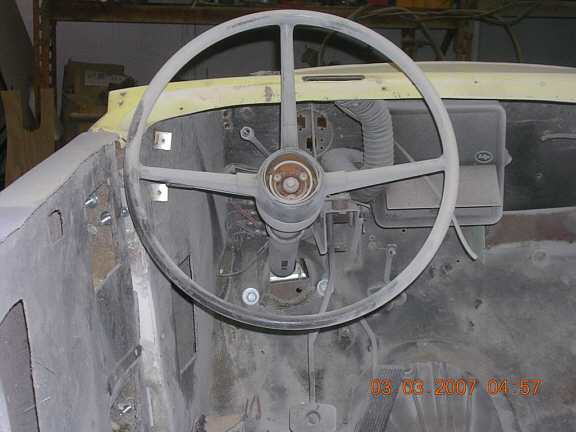 Chevy truck steering wheel. |
 Chevy steering column. Fiberglass and primer dust everywhere! |
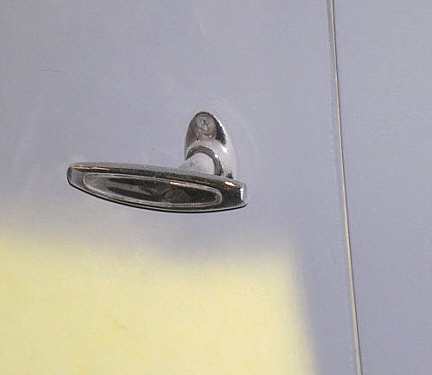 Model A replica door handles added to the outside. |
 Go back and look at the "before" pics in the junkyard! |
|
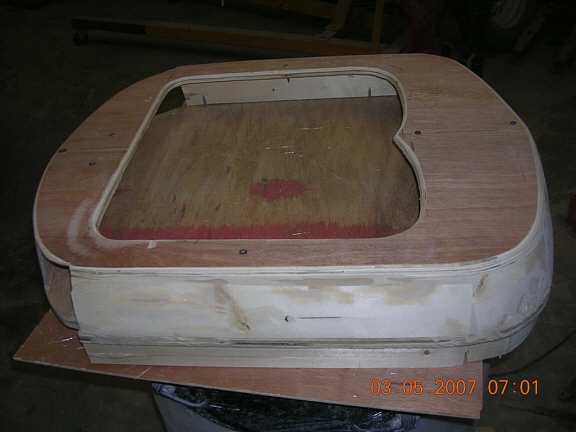
Grill or Radiator shell built from scratch I took a few pictures today as I made a mold to form a radiator shell on. Tonight my wife and I put about 10 layers of glass on the mold The first thing I did before building the mold was assemble the hood and sides onto the car with a few nuts and bolts, I made a brace to go across the front to hold the front in the proper position. Then I took a piece of cardboard and held it across the front of the car and traced the shape that the shell would need. I found at this time that the hood is not symmetrical and that if you turn my pattern around it will not fit at all. I don't know if the parts were just not made that precise originally or if my parts have warped over time, it is not bad enough to see with your eye so I just marked my pattern with FRONT and built the mold to fit. |
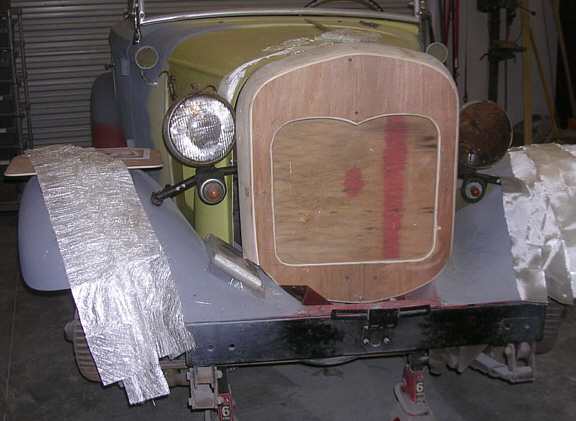 Sheets of fiberglass fabric are laying on the fenders
Taking my cardboard cutout I traced the pattern onto a piece of 1/2
plywood and cut it out with a band saw. Next I stuck the headlight bar
in place so I could figure how much space the shell had to fit in.
After deciding that about 5 inches was all I had I then downsized my original pattern by 3/4" all the way around and used it to cut another wood pattern for the front. Then I cut scrap wood to join the front to the back making it 5" thick. After cutting out the center to the shape I wanted I then sanded the mold down to make a reasonable plug. One thing I forgot to mention was that after I decided that I was going to glass over the outside I cut my back pattern down by about a 1/16" to allow for the fiberglass. First you make a mock up of the item you want to build. It can be made out of any material that you want. For instance, you could use wood for straight parts, a rubber ball section for a curved corner and metal or plastic for another part. You can build your mold so the fiberglass goes inside, or built up the fiberglass on the outside (like this case). What you can't do, is make it go both in and out, since then you could not get the fiberglass off the mold. The mold needs to be smaller than the part you want to end up with. -- In this case, Bobby built the fiberglass on the outside of the mold, and then, when it was strong enough to remove from the mold, he added strength to the INSIDE of the piece. |
 Once the mold is made I sprayed it with rattle can spray glue and then covered it with saran wrap to keep the glass from sticking to the mold. When you are working with fiberglass you have to prepare all your cloth before you mix the resin because the resin has a very short working time once mixed and if you do not use it in time it is expensive waste. Once I had cut 3 yards of cloth into strips and had them laying at hand I then got my wife to come out to help with the lay up. We both put on nitrile gloves and got 2" disposable brushes ready and then I mixed about a pint of resin per the directions on the can. Once mixed we take the brush and paint the mold with resin followed by laying on strips of cloth and then dabbing with the brushes and more resin until you see the cloth become saturated then you add more cloth and more resin and continue until you have covered the entire mold with as many layers as you want. We put on 8 to 10 layers that night because it takes about this much to make a part that you can pull off the mold and it hold its shape really well. The mold takes shape. The lip that goes under the hood sections (in the bottom of the picture) is smaller, but the finished shell will be pulled off downward (toward the left of the picture) so the finished product won't get stuck in the mold. |
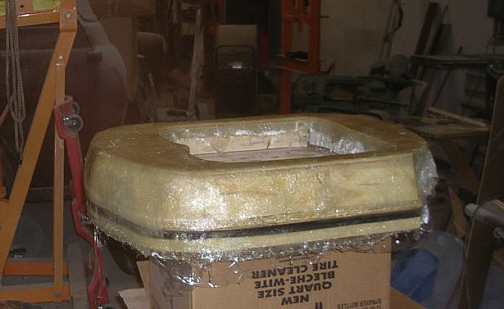 I am not sure what we have here. Saran plastic wrap is used over the mold, so the fiberglass will not stick to the mold. Later it will be peeled off where it sticks to the inside of the fiberglass finished shell. |
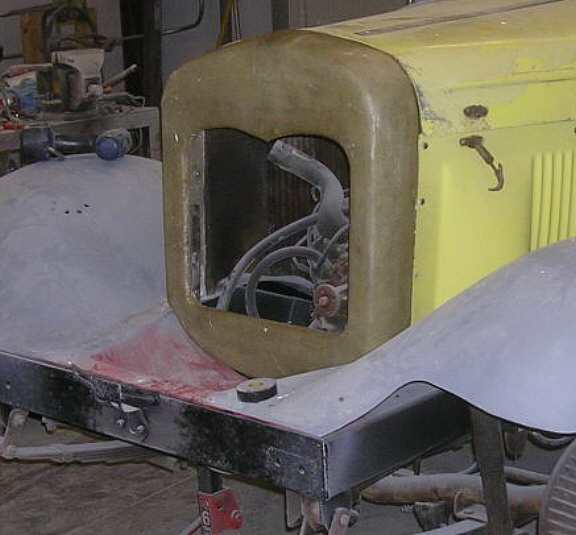 After hardening overnight I pulled the part off the mold the next morning. After fiberglass has hardened there is a waxy surface on it that must be ground off before you lay more glass on it or the new will not bond to the old, I used a hand grinder to run over the surface and then I layered on more glass on the inside and the outside and then set it in the sun to dry, an hour later I ground it over again ant then added more glass all around the perimeter to add more strength where bolts will be going through it. I did the whole thing one more time and it is now about 1/4" thick everywhere and very strong. Now the only thing left is to smooth up the outside which takes a lot of sanding, a little bondo, and primer and I have a custom made grill shell. Fiberglass cloth, resin (a clear syrup-like liquid) and hardener, (a second liquid that you add to the resin that causes it to harden in a short period of time). You mix the two parts of the resin to activate it, then soak the cloth in the resin and lay it onto your mold -- somewhat like paper mache, only you don't use thin strips like you do with paper. Fiberglass stinks to high heaven and should be used in a well ventilated area. It is also sticky and messy to work with. Several layers can be built-up per session. Materials are available at Home Depot type stores or automotive parts stores. The materials can be costly, so shop around if buying large quantities. |
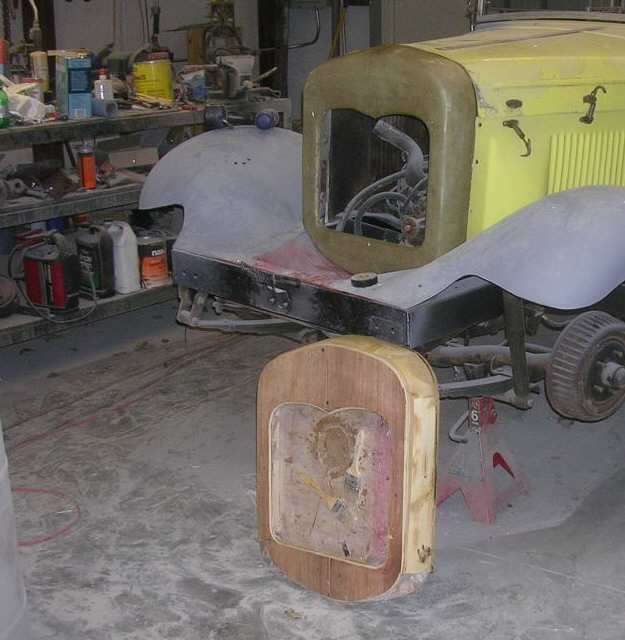 Pictures of the plug (mold), and the semi finished radiator shell. It needs a lot of finishing at this point. My wife and I laid on about 8 layers of glass last night for the initial lay-up. After pulling it off the plug today I have added probably 8 more layers in three separate lay-ups today. It is now strong enough that I think I could stand on it and with a little shaping work I think it is going to work fine. My cost in doing this was about $108.00 which covered a gallon of resin, 6 yards of fiberglass, 2 half sheets of plywood, Elmer's glue. all from Lowes |
| This complex restoration continues on page 2 |