Windshield repairs, car 141
Shared with the Annex by Chuck Stout in March, 2012
I think the
windshield arms are the same on most Glassics. Begin by
disconnecting your wiper motors or the arms depending on what style
you have.
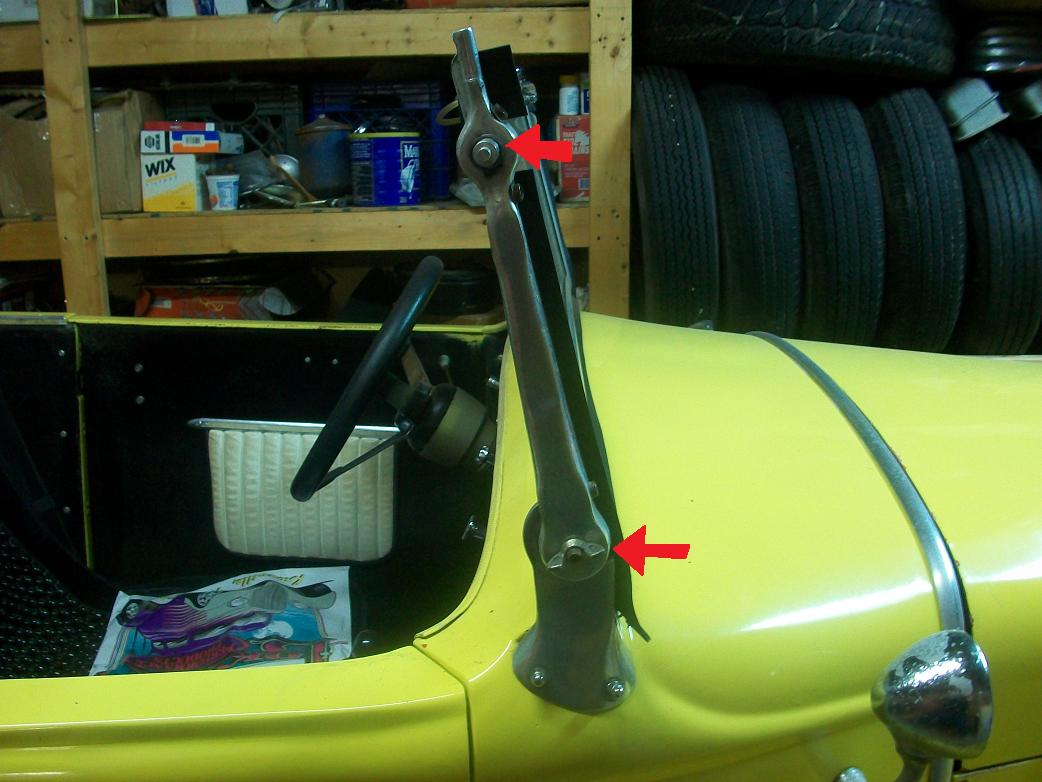
For removal start by removing the wing nuts or bolts shown
by the red arrows.
Pull the windshield arm away. If you do this on both sides you made need a extra set of hands to handle the windshield as it will be free from the car.
The bolt on my car #141 is a set screw. On other cars it may be a bolt. Remove as this passes through a L shaped bracket inside the frame.
Pull up gently on the frame.
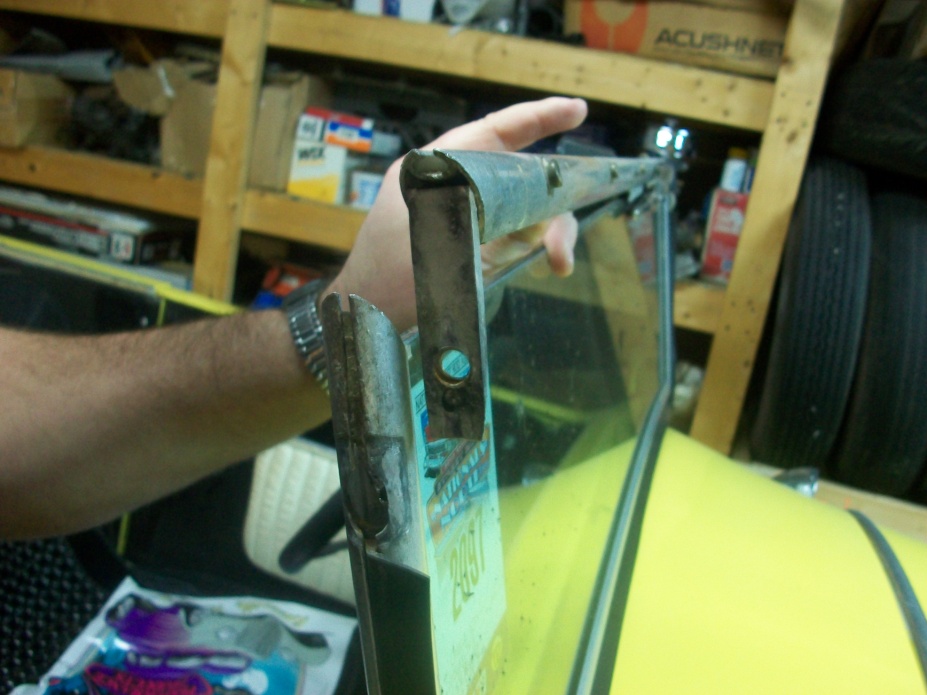
You can now see
where the bolt passes through the L shaped bracket.
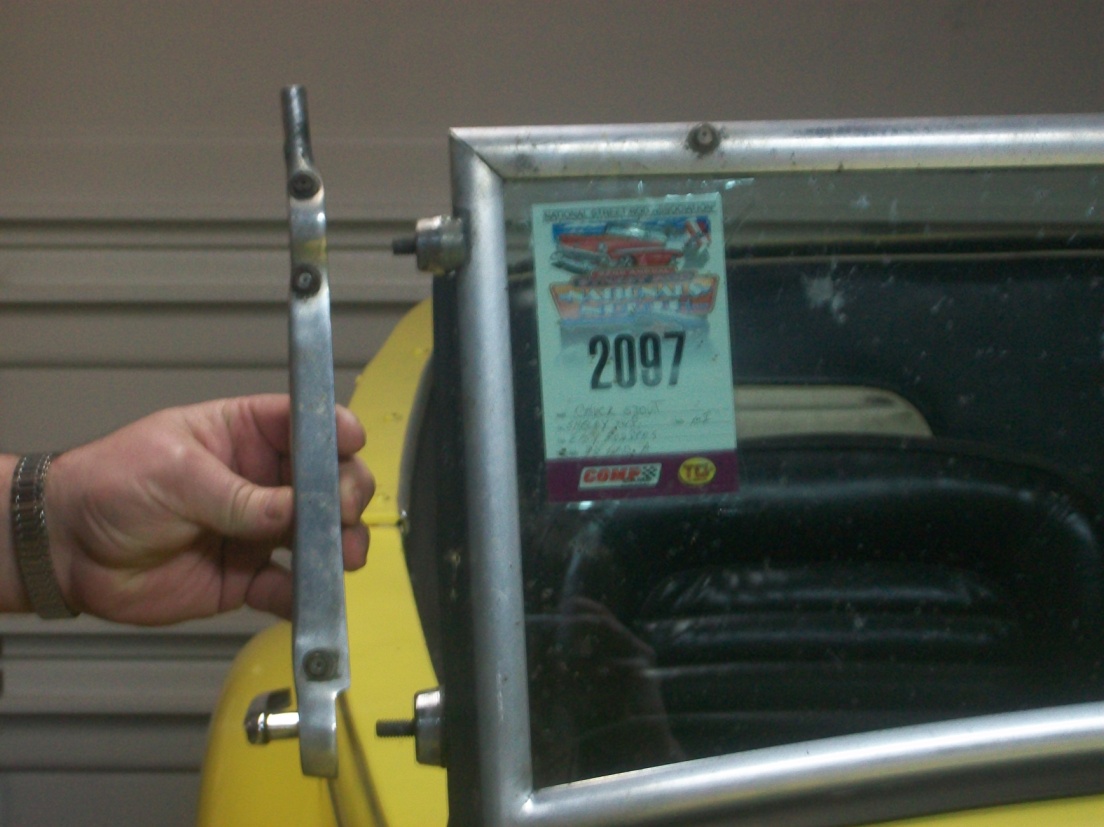
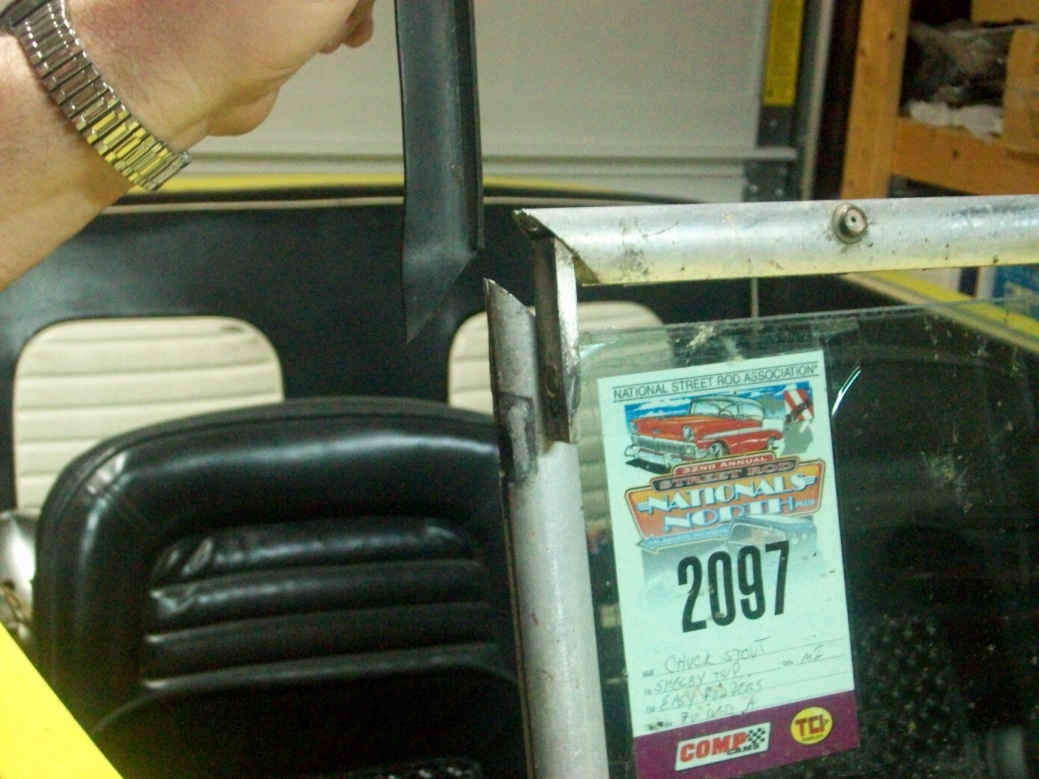
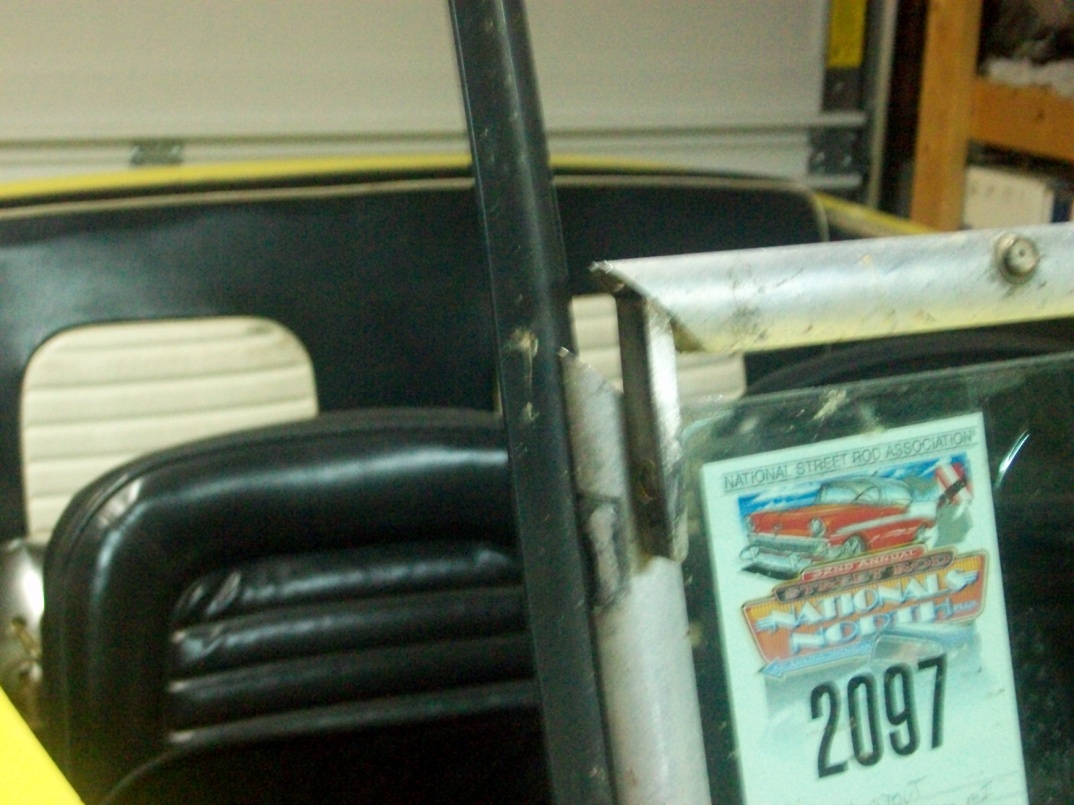
To get the rest
of the frame away from the windshield lay it on a protected bench and
gently tap with a dead blow hammer.
You may have to use a hammer on a
block of wood at the bottom of the frame to loosen it away from the
windshield.

The gasket I sourced
through a local store that deals with home windows and shower doors.
It was .060 thick and about 1 in wide. I laid it around the outside
circumference of the windshield
and tapped the frame gently onto it
with a dead blow hammer. Using a little soap and water helped
it to
slide on. When assembled I trimmed the excess material with a razor
knife.
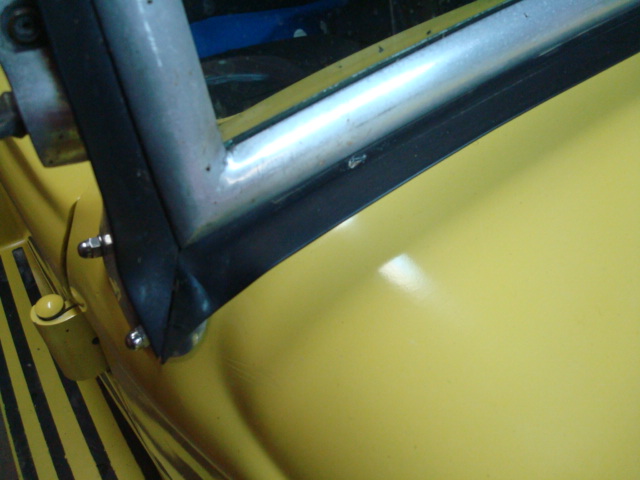
The outside weather
stripping I ordered from Snyder’s Antique Auto.
Part No.
A-37199-B for 1930 and 1931 open cars. I ordered one package and
seemed to have enough.
It slides in the u shaped channel on the
outside of the frame.
Again a little soap and water may be needed. I
had to experiment with cutting the angle so it laid somewhat nice.
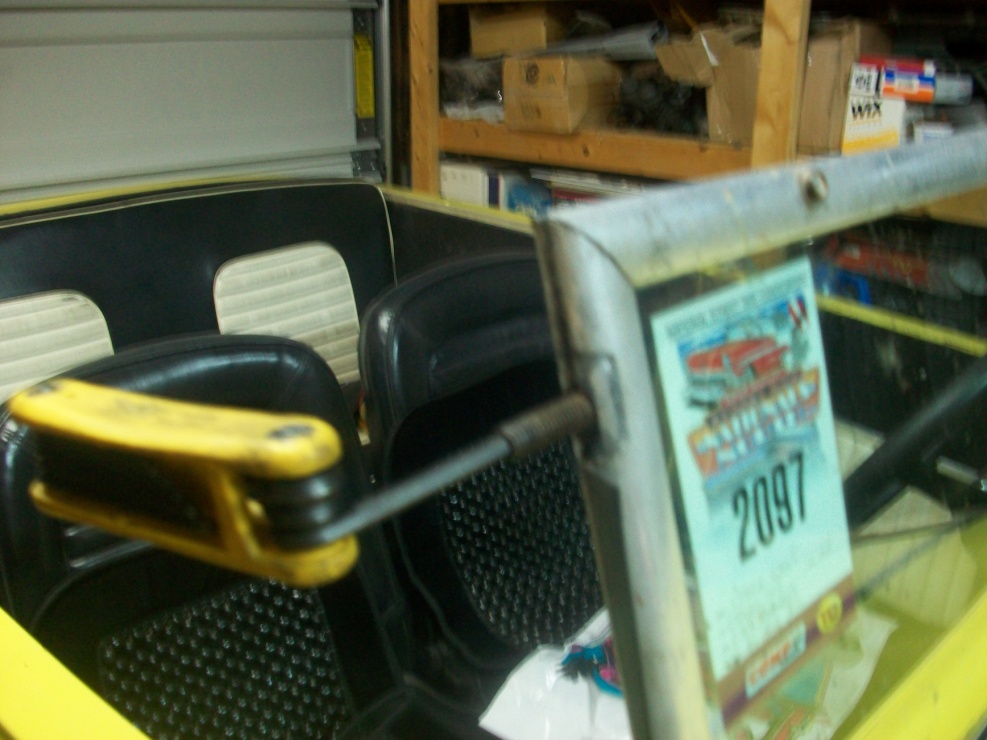
Here the stripping is being pushed on. Reassemble the bolts and windshield arms. Reconnect the wipers.
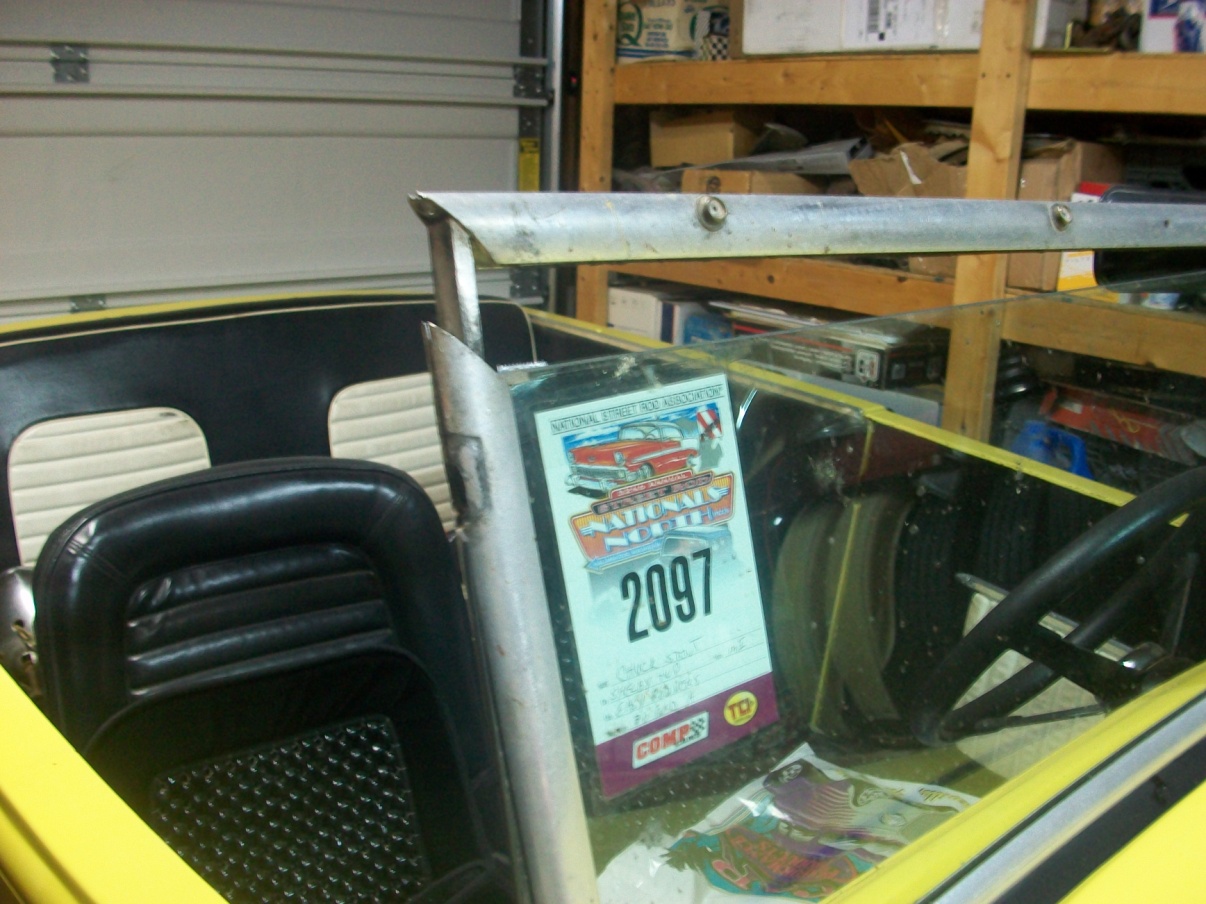
All done. Hope this helps.
![]()
![]()